.webp)
Resources
September Product Update: Major Upgrade for Check-In Gates!
Blocking incomplete attendees at check-in just got smarter.
.webp)
Questions about setting up check-in gates for your next event? Reach out to our support team!
If you've ever had an attendee walk through your check-in line with an outstanding balance or a missing waiver, you know the awkward scramble that follows. Our enhanced check-in gates feature is built to stop that scramble before it starts.
What's Improved
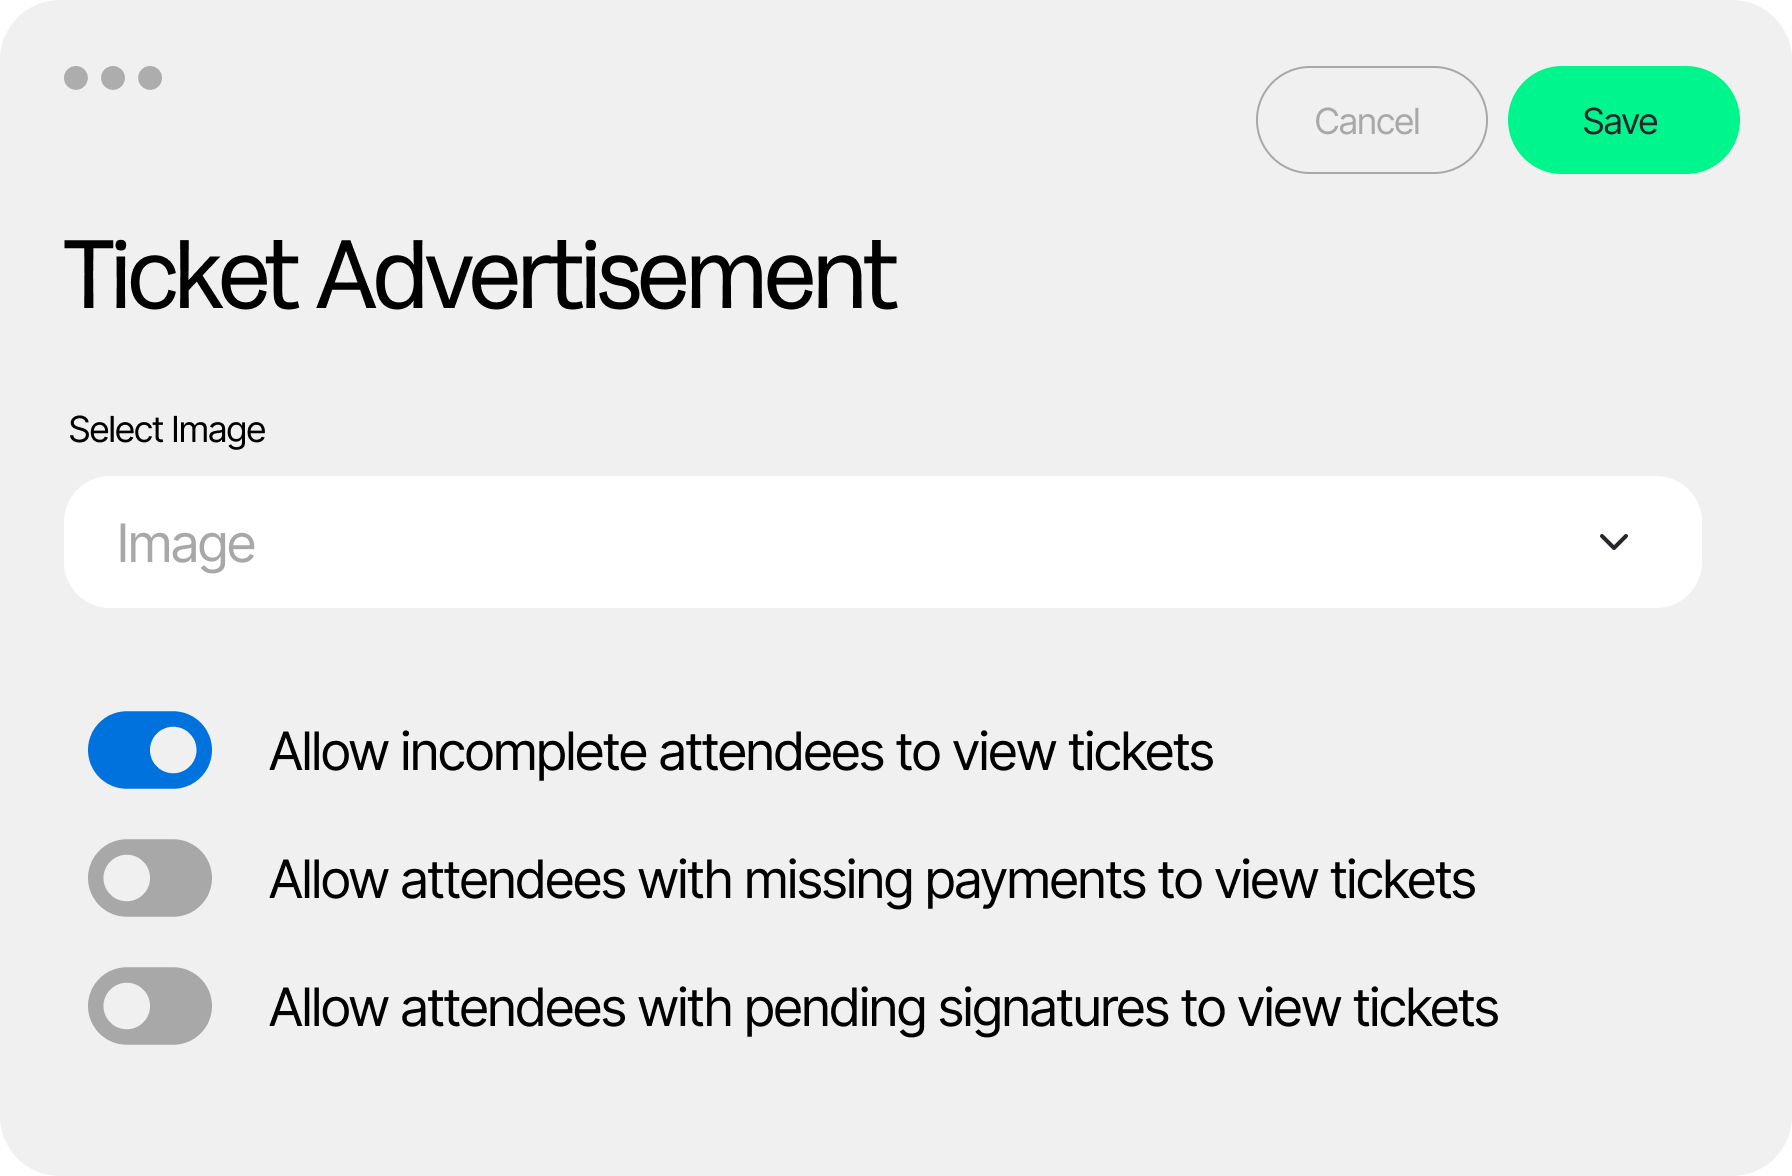
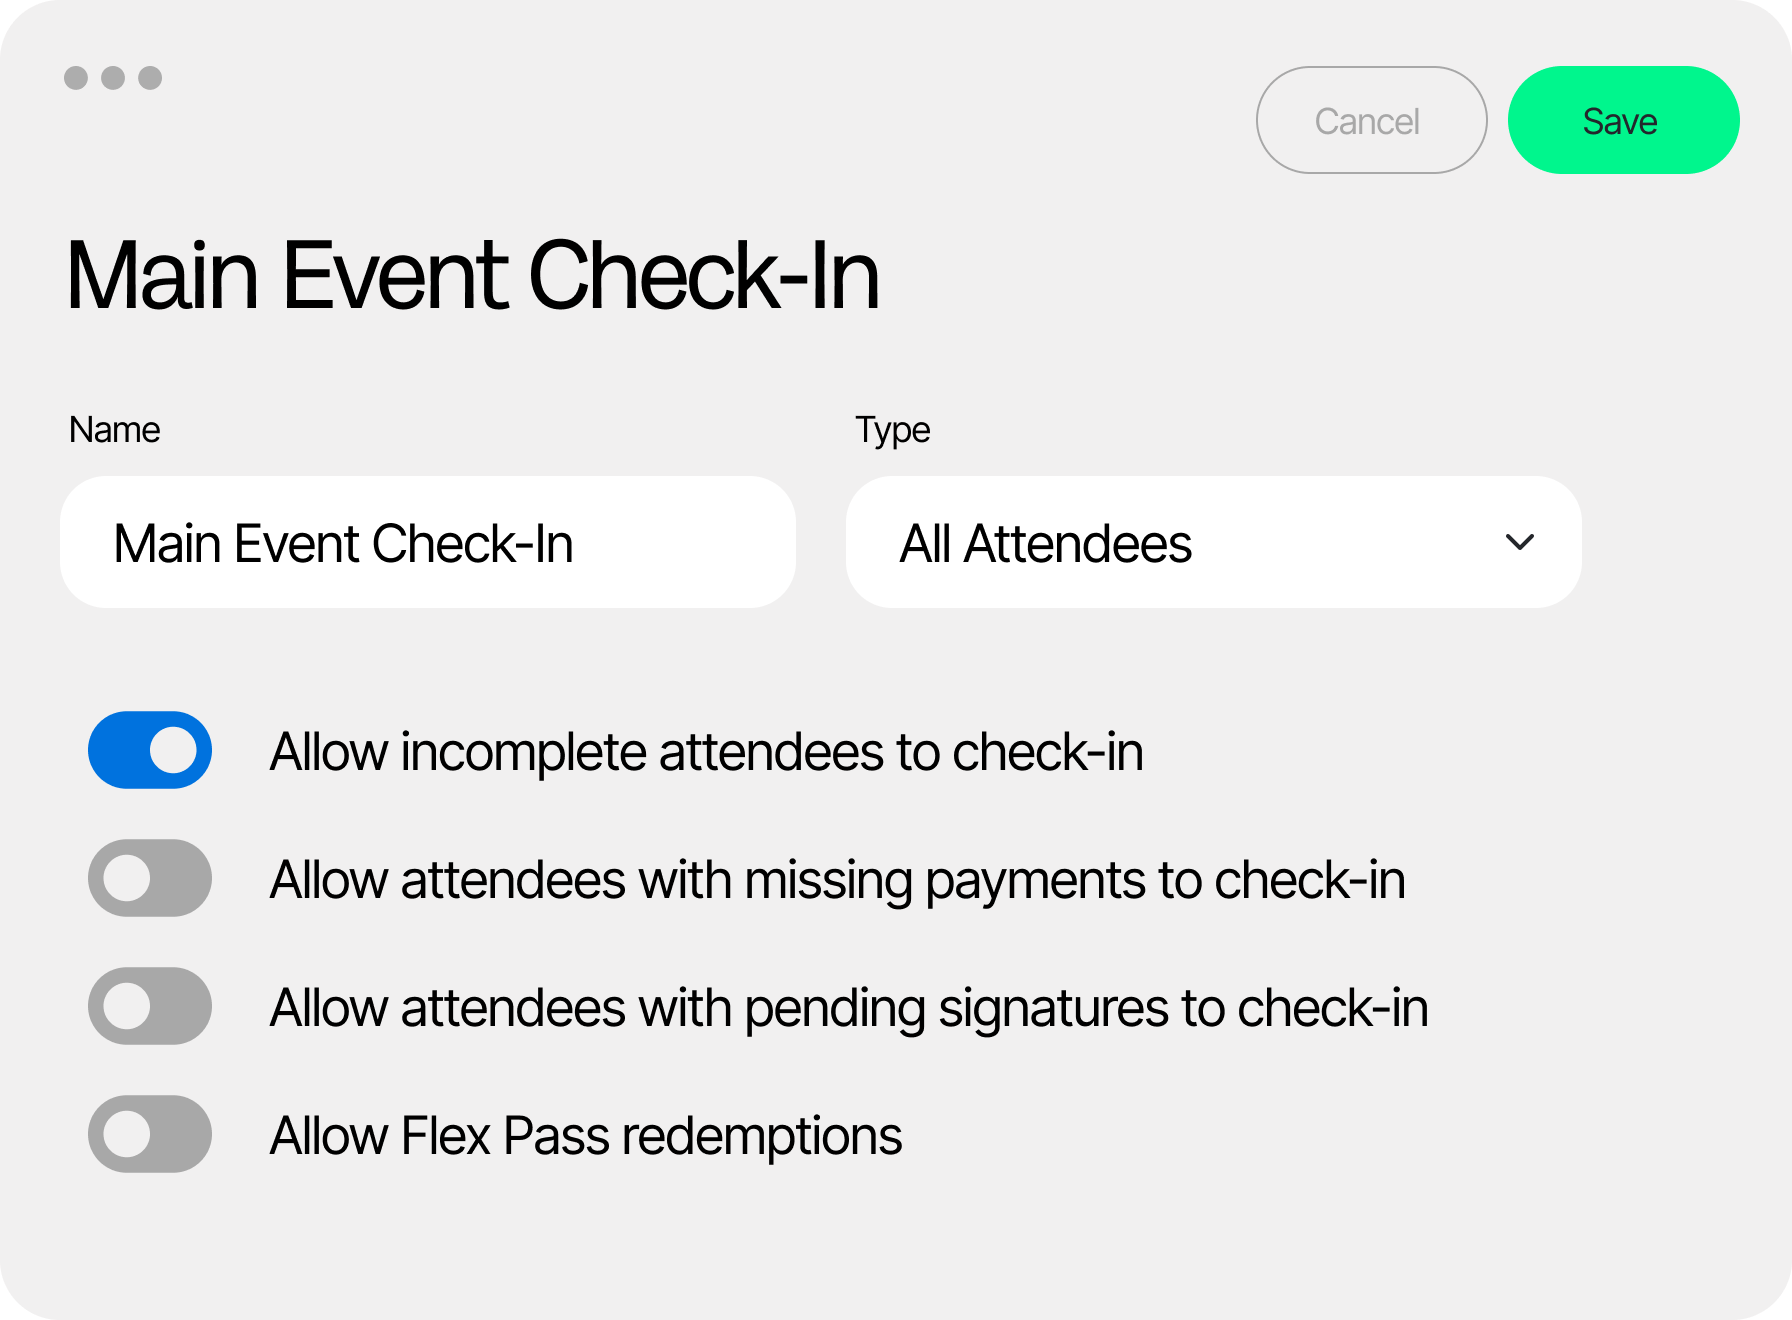
Check-in gates let you block an attendee from checking in until they've cleared specific requirements: incomplete registration info, a missing signature, or a missing payment. All three gates are off by default, so you're always opting in per event, not getting surprised by new behavior.
Here's what makes this an upgrade worth talking about:
Clearer reasons at the scanner. When your team scans a blocked attendee's ticket, the app tells them exactly why: incomplete registration, pending signature, outstanding balance, unconfirmed payment method, so there's no guesswork at the door.
A smarter definition of "missing payment." This isn't just an unpaid balance. It also catches payment methods that haven't been confirmed yet, like checks or invoices still waiting on your end. That's a gap many organizers have been asking us to close.
Consistent enforcement on mobile. Once a gate is enabled, the mobile app holds the line — no override at the scanner. If your team needs the flexibility to let someone through anyway, that override still lives on the web-based Manage page, where it belongs.
Two layers of control, so you can pick the right fit. These gates actually work on two levels, and it's worth knowing the difference:
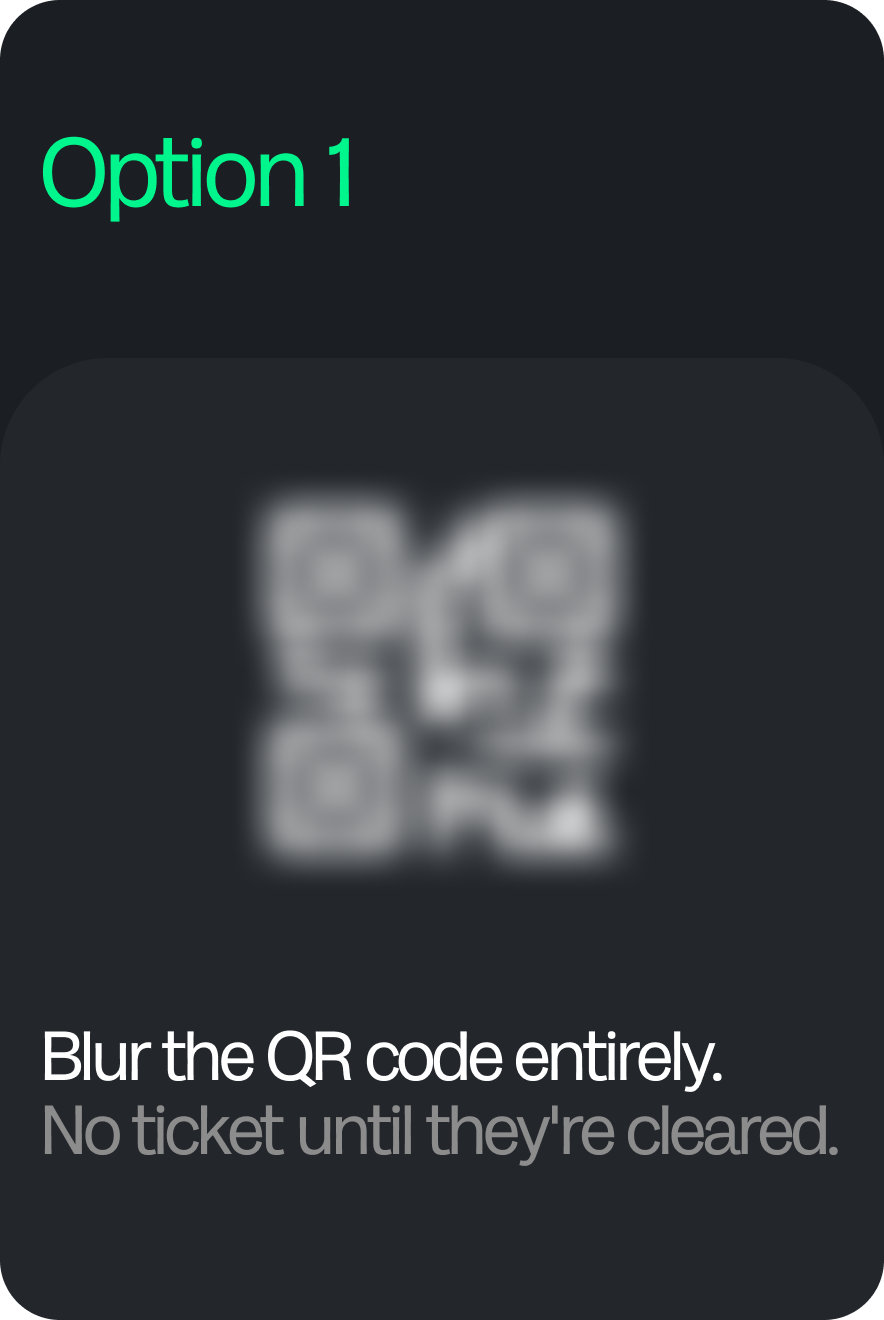
- Blocking the QR code itself. By default, a blocked attendee's ticket shows a blurred QR code and an "Access Blocked" message; the wallet and print options disappear too, so there's nothing to scan or use. A button on that screen takes them straight to what they need to do next: finish their registration, sign the waiver, or make the payment. Once they've handled it, a quick refresh restores their ticket. This is the most airtight option: no ticket, no confusion.
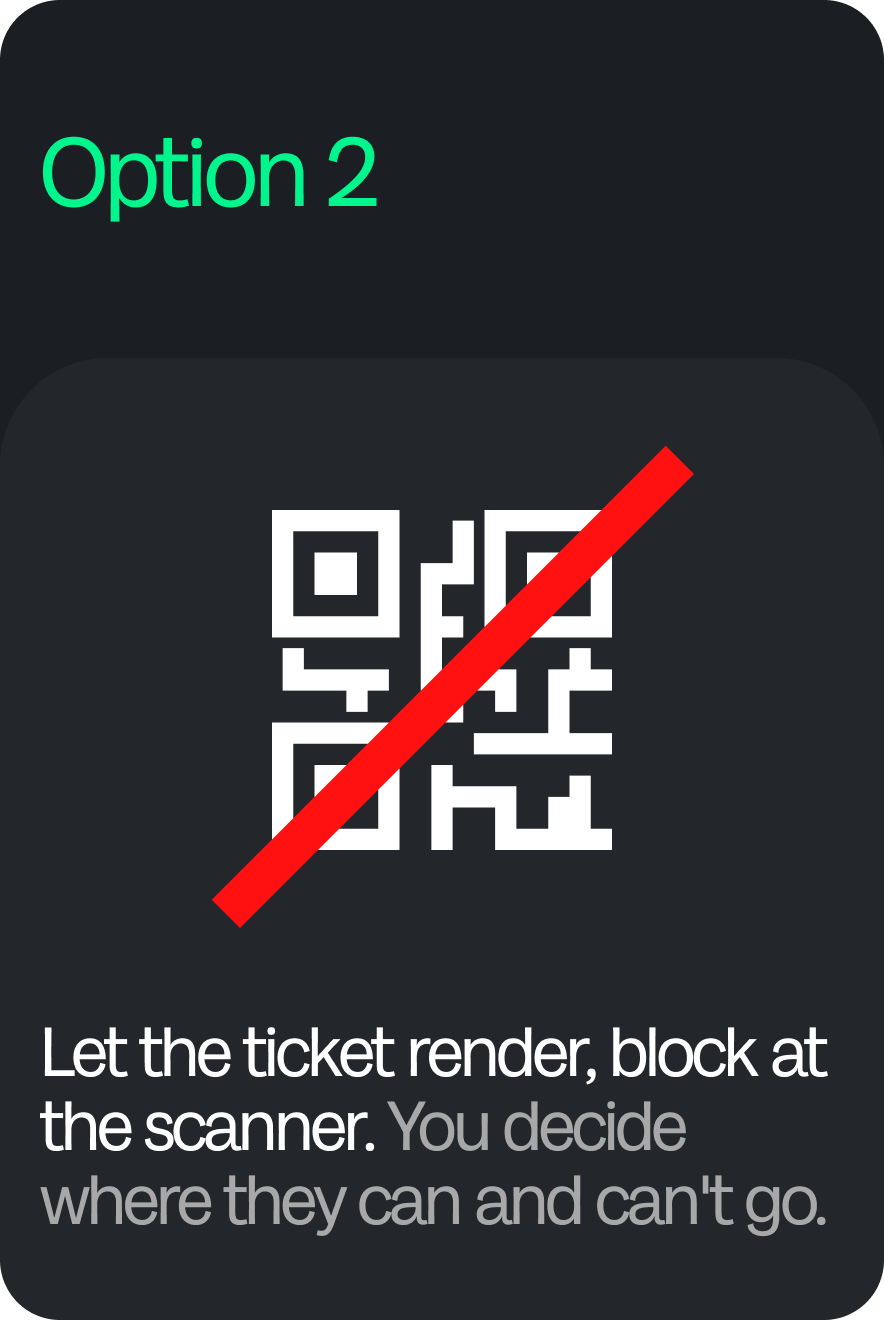
- Letting the QR code render, but blocking at the gate. If you'd rather your attendees hold onto a normal-looking ticket, you can adjust this per event so their QR code still renders. It just won't get them through the door when your team scans it; the check-in gate still catches the outstanding requirement and blocks entry right there at the scanner. Want an attendee to make it past the main entry with an outstanding requirement but not let them check in at the food or swag tents? You can customize each check-in session’s gates to allow entry in some places but not others.
Either way, the outstanding requirement gets caught before someone walks in; you just get to decide whether that happens before or at the gate.
Why This Matters for Your Event
This is the kind of control organizers have been asking for: a way to protect your revenue and your paperwork without adding extra manual checks on event day. Your check-in team isn't guessing, your attendees know exactly what's holding them up, and you decide event by event whether these gates are even on.
How to Turn It On
Check-in gates live in your event settings and are configured per event, so you can enable exactly what each event needs, nothing more. Visit your Check-In Options to set your gates, or the Ticket Layouts section to decide whether you want to render the QR code on tickets at all.
Have questions about setting up check-in gates for your next event? Reach out to our support team! We're happy to help you get it dialed in.
“ticketing”
50 articles found
Show all
Serving up Success a perfect partnership
Serving up Success a perfect partnership
Serving up Success a perfect partnership
.svg)
Related Blogs


Ready to stop
.avif)